![]()
Here is steps installing zabbix-1.8 on Lenny :
I assume you already have a running apache, mysql and ssh-server, so preparing all needed dependencies should be simple as follows :
{code}apt-get install build-essential
apt-get install fping
apt-get install libsnmp-dev
apt-get install libcurl4-openssl-dev
apt-get install php5-gd
apt-get install libiksemel-dev
apt-get install libmysqlclient-dev{/code}
Create the zabbix user :
{code}sudo adduser zabbix
enter the new password
confirm once again{/code}
Download and untar the source :
{code}su – zabbix
wget http://optusnet.dl.sourceforge.net/sourceforge/zabbix/zabbix-1.8.tar.gz
tar xfzv zabbix-1.8.tar.gz{/code}
Using mysql as database, create zabbix database and import the prequisite sql :
{code}shell> mysql -u<username> -p<password>
mysql> create database zabbix character set utf8;
mysql> quit;
shell> cd create/schema
shell> cat mysql.sql | mysql -u<username> -p<password> zabbix
shell> cd ../data
shell> cat data.sql | mysql -u<username> -p<password> zabbix
shell> cat images_mysql.sql | mysql -u<username> -p<password> zabbix{/code}
Now it’s time to compile the source :
{code}cd zabbix-1.8
./configure –enable-server –enable-agent –with-mysql –with-net-snmp –with-libcurl –with-jabber –prefix=/usr
make
su
# Enter root password
make install{/code}
Edit /etc/services with your favourite editor and insert this line at the end :
{code}zabbix_agent 10050/tcp # Zabbix ports
zabbix_trap 10051/tcp{/code}
Save and exit.
Prepare the zabbix config by editing the default config from them :
{code}mkdir /etc/zabbix
chown -R zabbix.zabbix /etc/zabbix/
cp misc/conf/zabbix_* /etc/zabbix/{/code}
and edit the /etc/zabbix/zabbix_agentd.conf:
Make sure that the Server parameter points to the server address, for the agent that runs on the server it is like this and adjust as for your needs :
{code}Server=127.0.0.1{/code}
Save and exit.
Edit /etc/zabbix/zabbix_server.conf and adjust to the database user and password :
{code}# Database user
DBUser=zabbix
# Database password
# Comment this line if no password used
DBPassword=Secret{/code}
Save and exit.
Copy the pre configure init.d scripts from zabbix and place them to the right spot on debian :
{code}sudo cp misc/init.d/debian/zabbix-server /etc/init.d
sudo cp misc/init.d/debian/zabbix-agent /etc/init.d{/code}
I found this should be edited as per 1.8 version for zabbix-server and zabbix-agent :
Edit the /etc/init.d/zabbix-server, and look for this line :
{code}DAEMON=/home/zabbix/bin/${NAME}{/code}
and change them to :
{code}DAEMON=/usr/sbin/${NAME}{/code}
Save and exit.
Now set the correct permissions and set ZABBIX to start when the machine boots:
{code}sudo chmod 755 /etc/init.d/zabbix-server
sudo update-rc.d zabbix-server defaults
sudo chmod 755 /etc/init.d/zabbix-agent
sudo update-rc.d zabbix-agent defaults{/code}
And start the server and the agent :
{code}/etc/init.d/zabbix-server start
/etc/init.d/zabbix-agent start{/code}
Check the running server using ps aux | grep zabbix and you should see some output telling the zabbix-server were run on some PID.
Done. The server part were already run.
The web interface
Copy the web interface frontend to apache root directory
{code}
cd /var/www
rm index.html
cp -R /home/zabbix/zabbix-1.8/frontends/php/* .
{/code}
And make sure you adjust the php.ini setting accordingly to this pre-quisite :
{code}max_execution_time = 300
date.timezone = Asia/Jakarta{/code}
Restart the apache, and now you can install using :
http://<servername or ip>/zabbix/
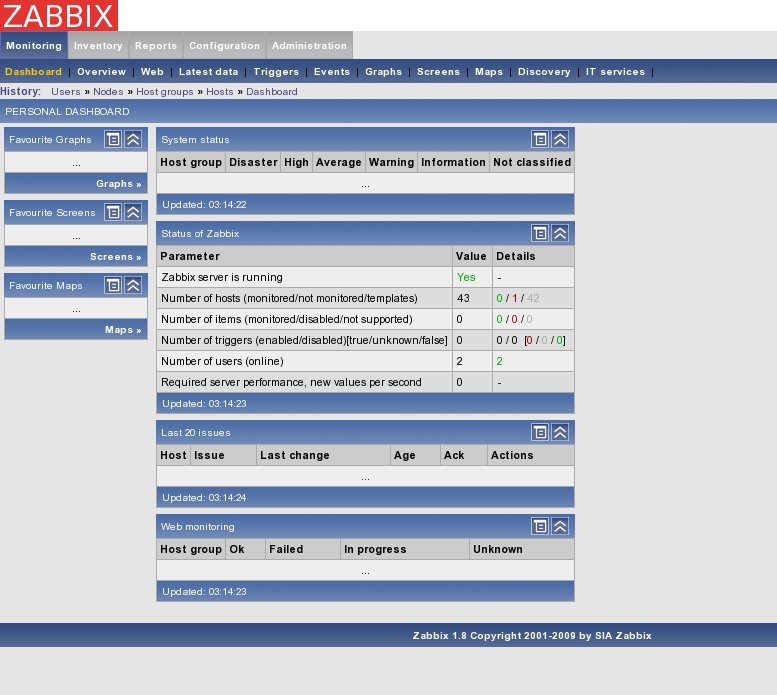
The default username for admin is admin and the password zabbix. Change the admin password immidiately after login, and check for the zabbix server daemon availibility.


